The Idea
I've been in a handful of situations over the years where I wished I had a recording of a conversation. Nothing dramatic — just the kind of thing where you leave a meeting and realize you have no way to prove what was said. The idea of a dedicated device for that has been rattling around in my head for a while.
The constraint I set for myself: it had to be something you'd actually bring into a meeting without thinking twice. A phone is fine, but a phone sitting on the desk recording looks like a phone sitting on the desk recording. A book sitting on a desk looks like someone brought a book to work.
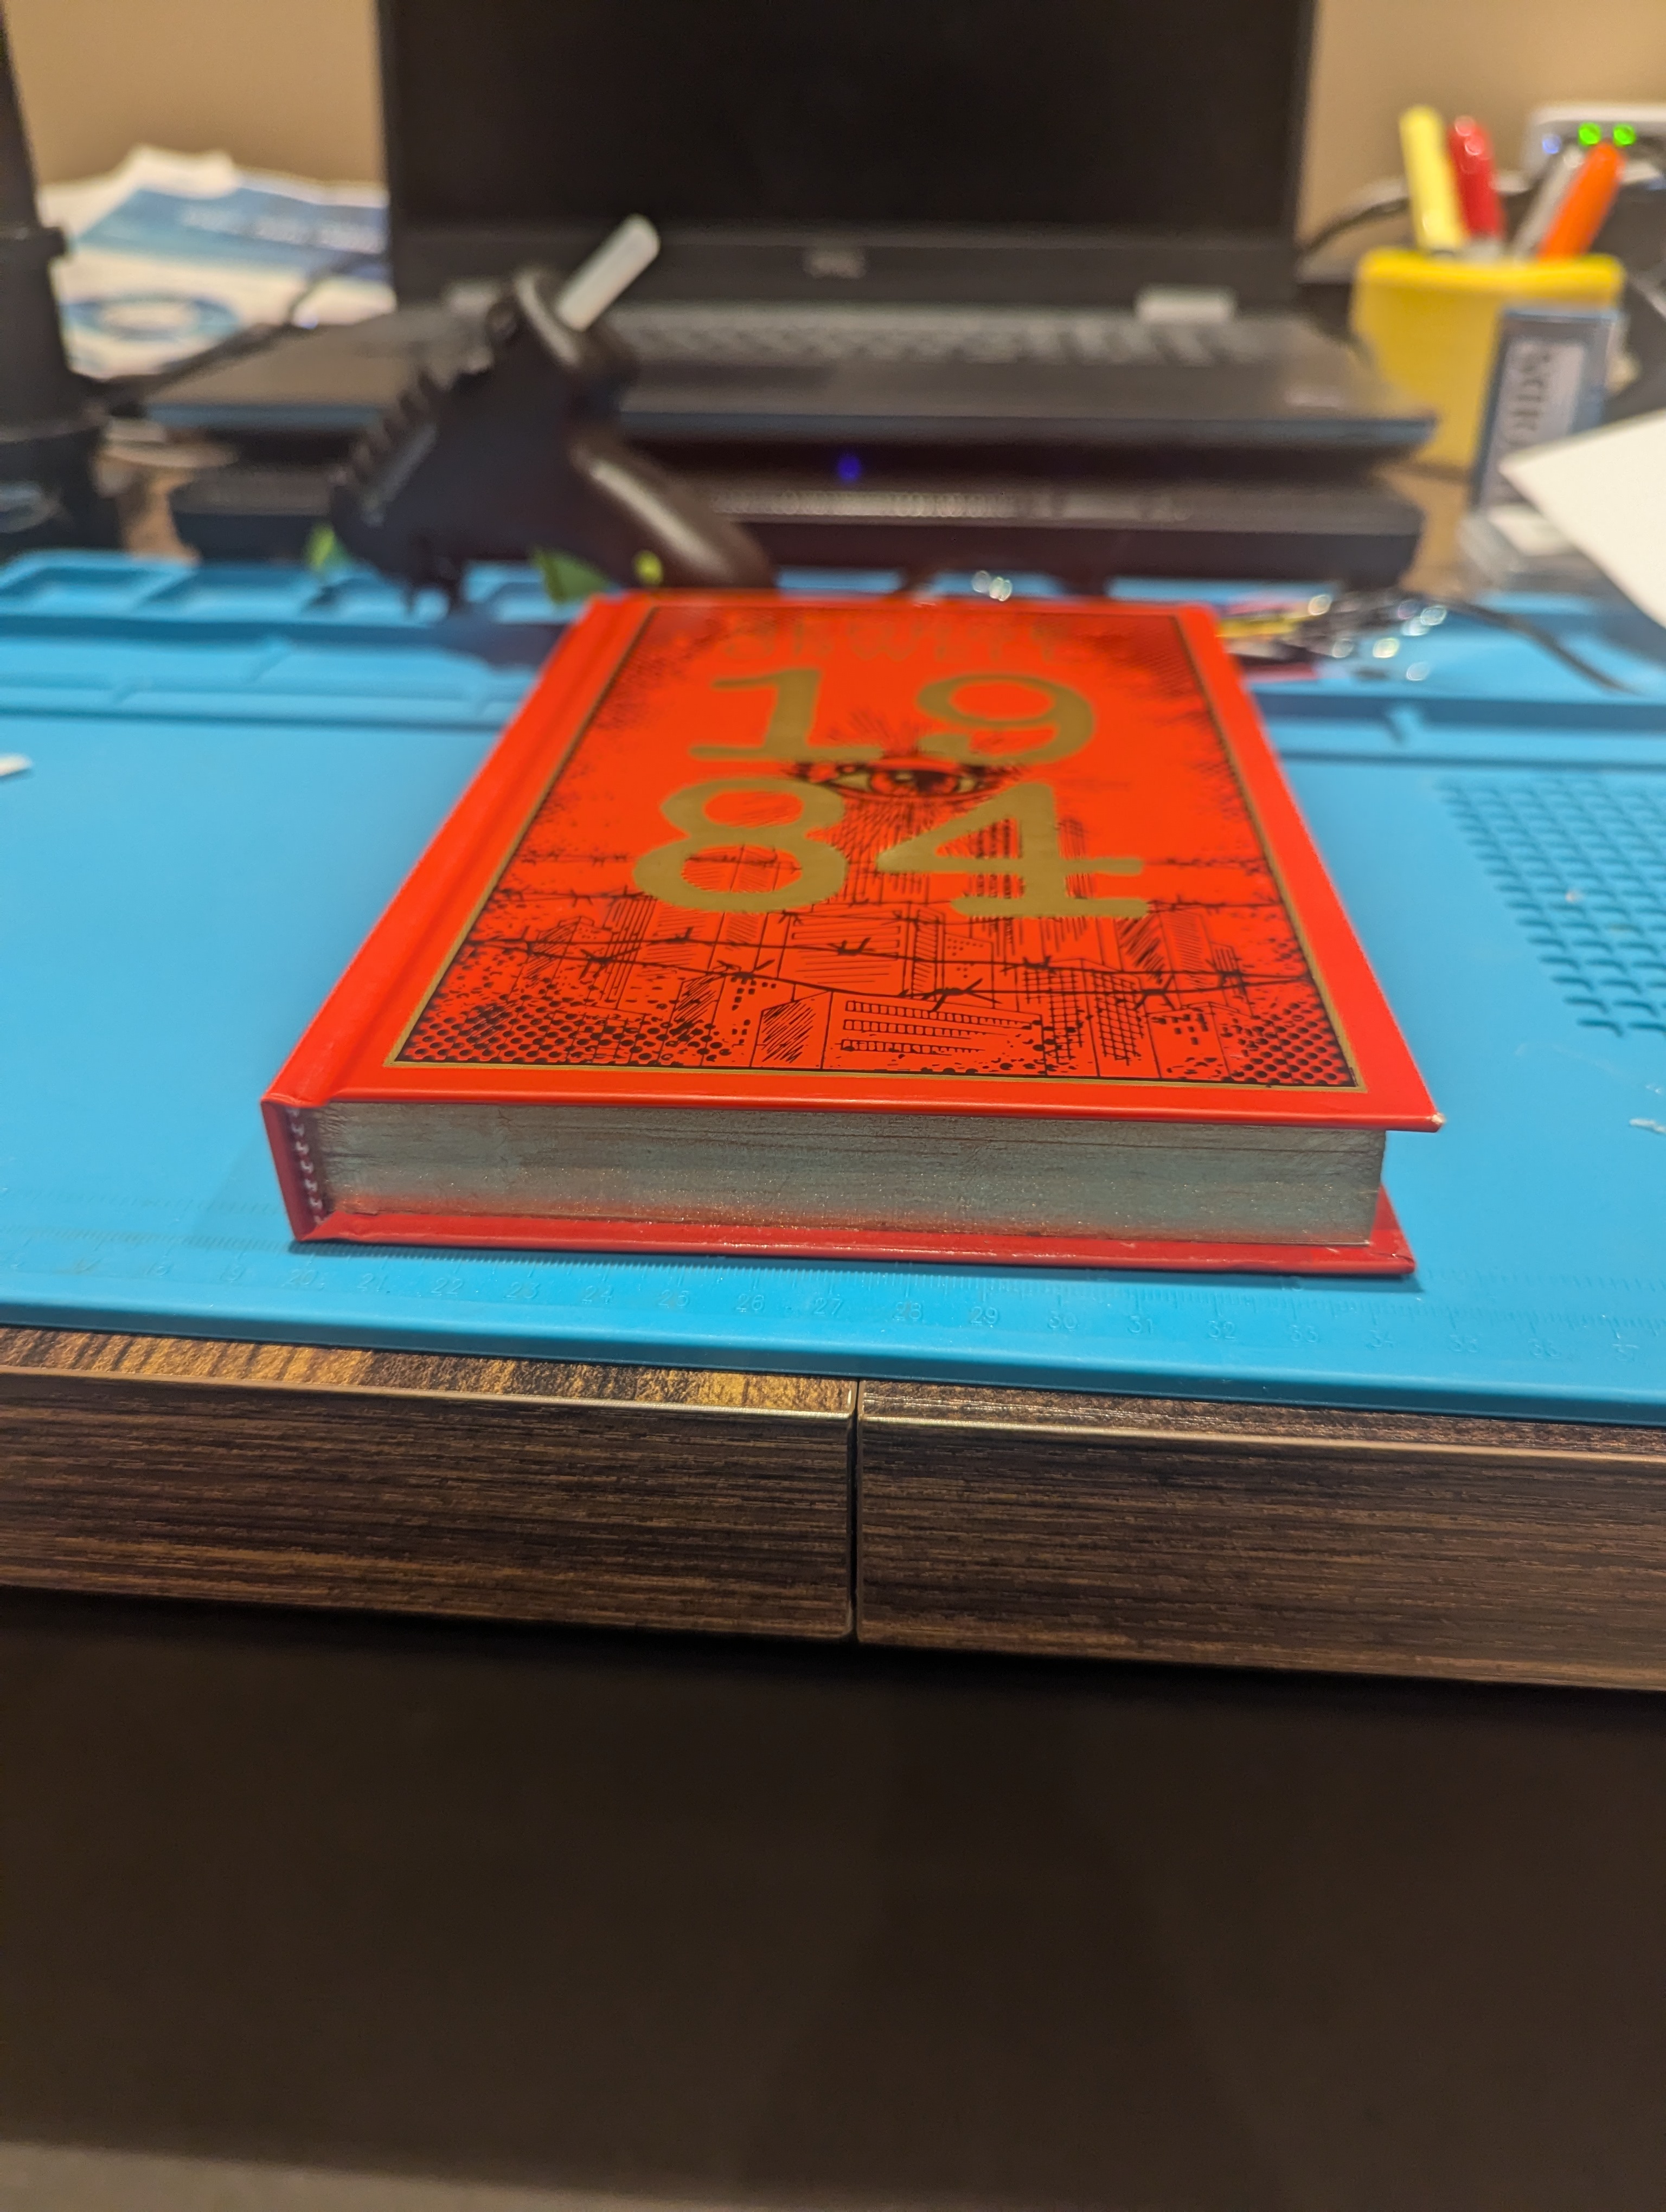
The copy of 1984 I found at a thrift store for a couple bucks sealed it. The irony was too good to pass up.
Utah is a one-party consent state (Utah Code § 77-23a-4). You can legally record any conversation you're personally a participant in without notifying the other parties. I'm not a lawyer — know your local laws before building or using anything like this.
The Parts
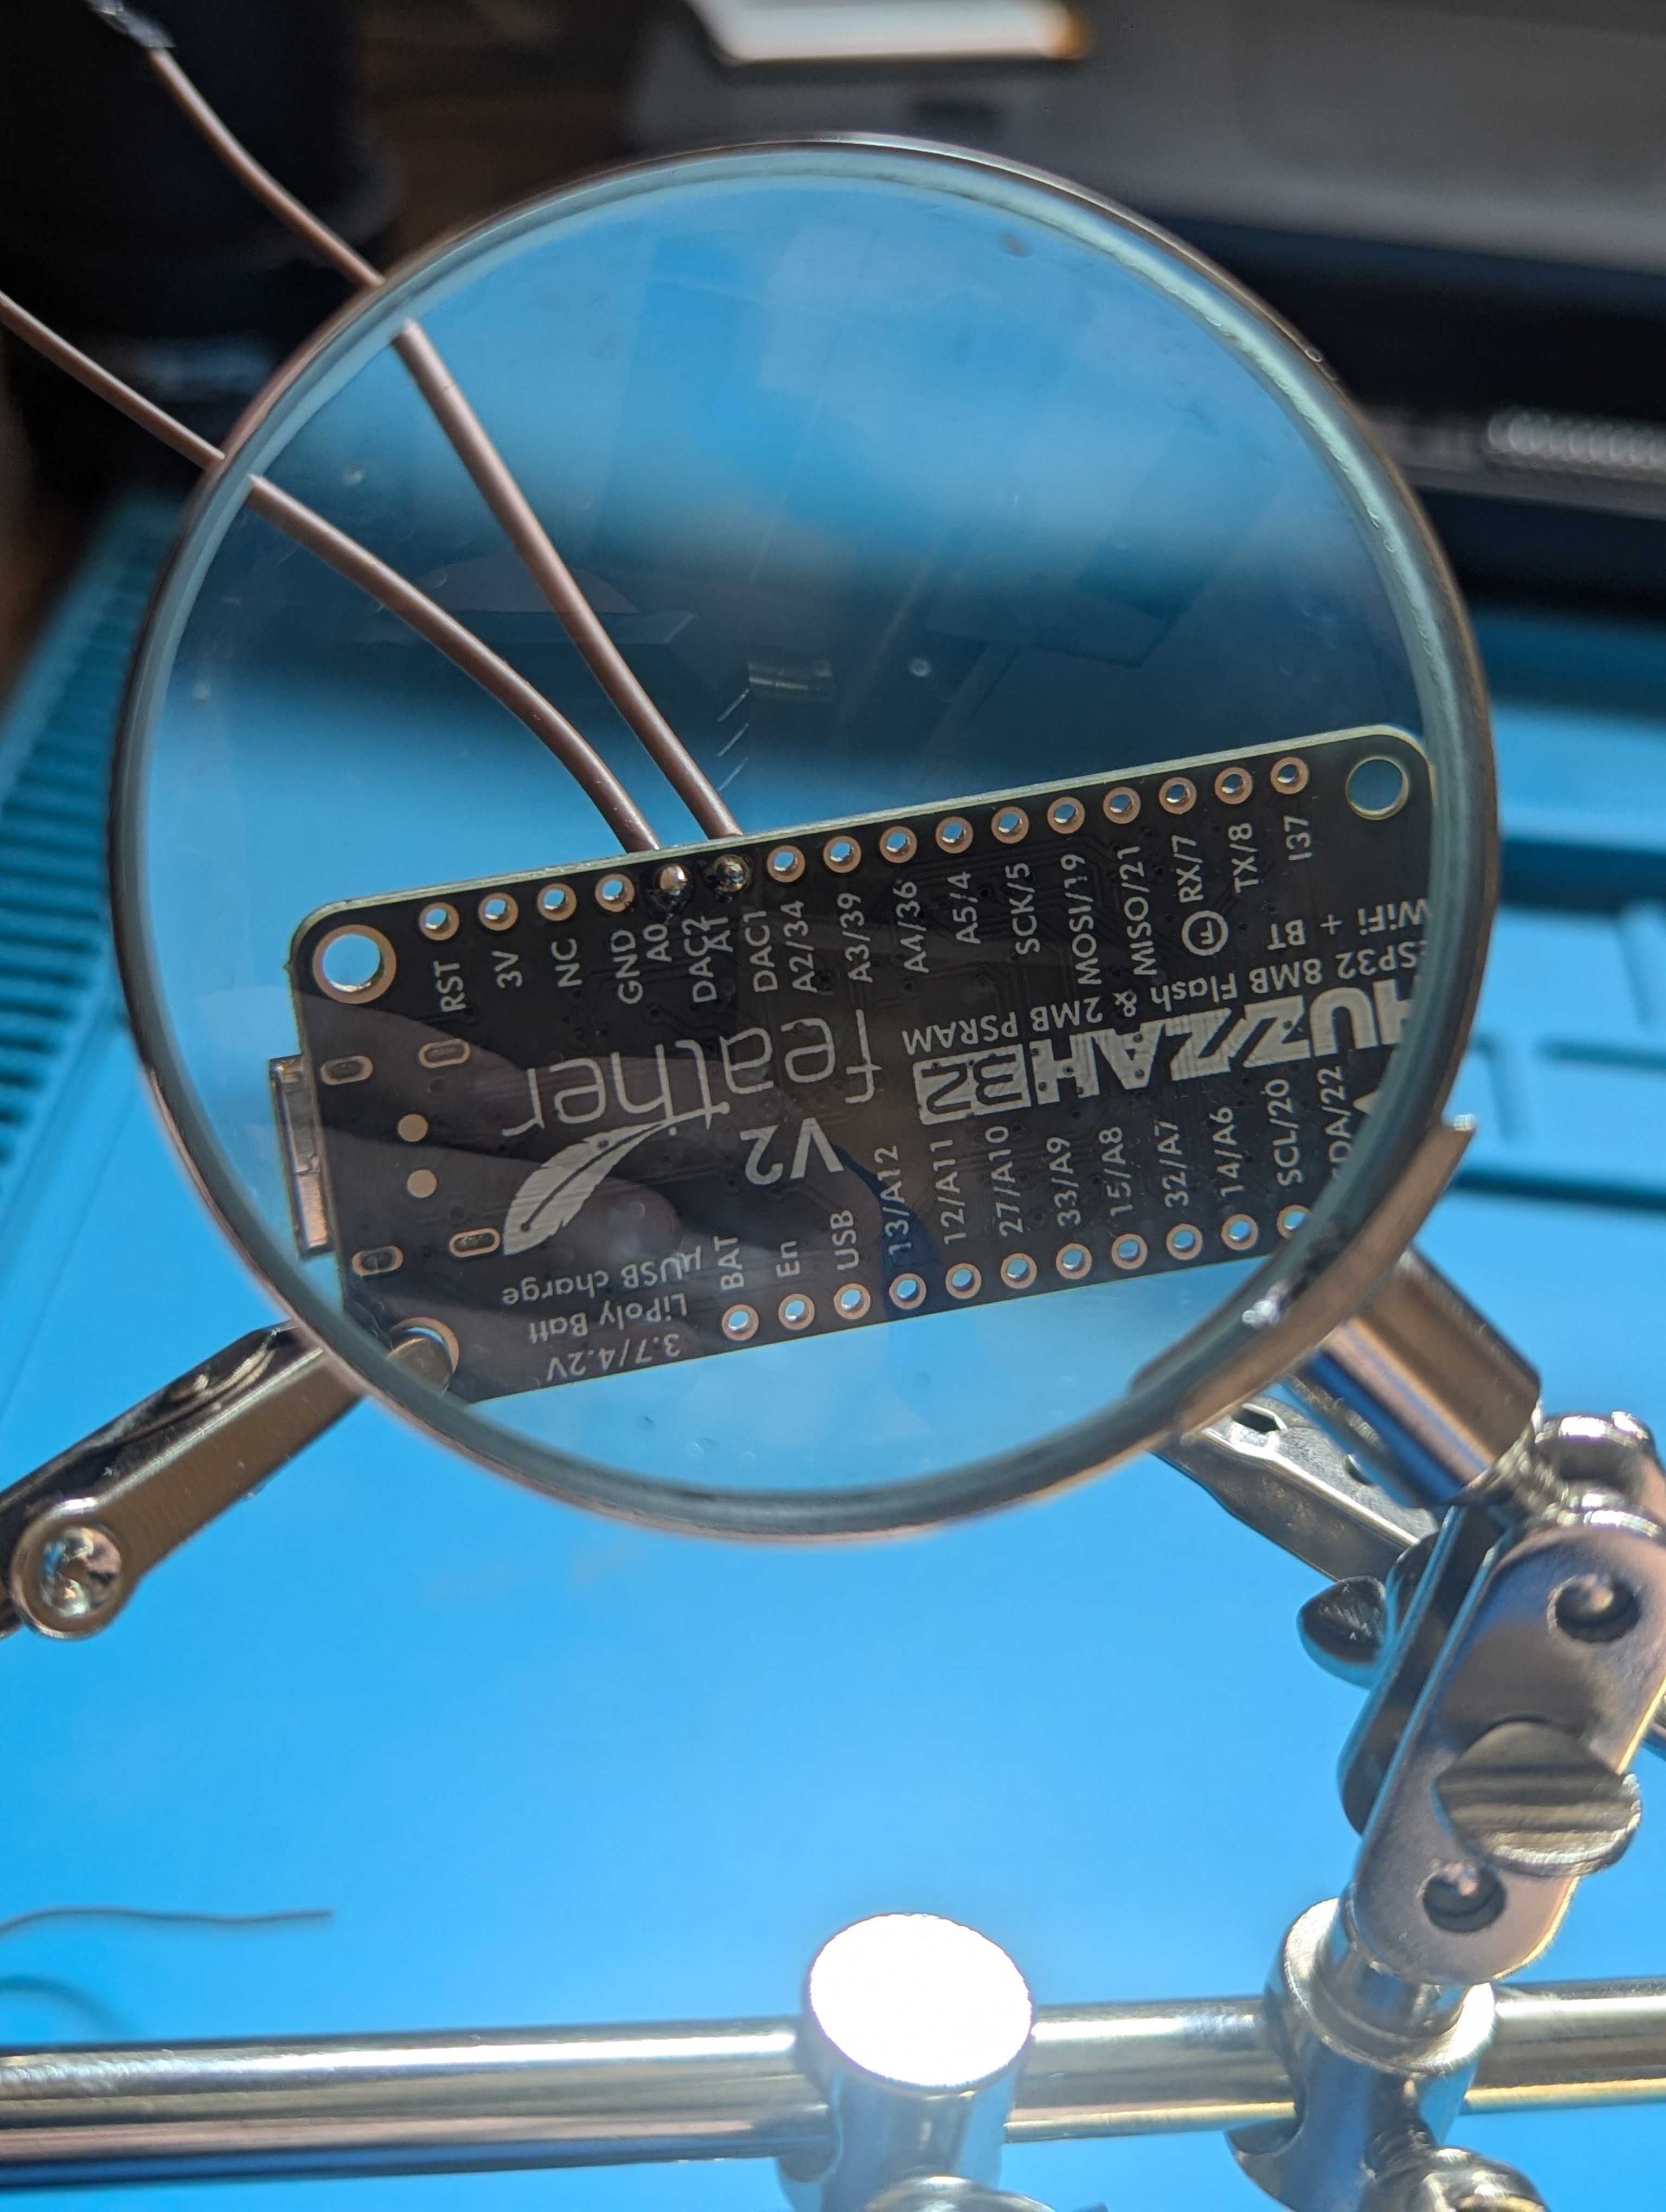
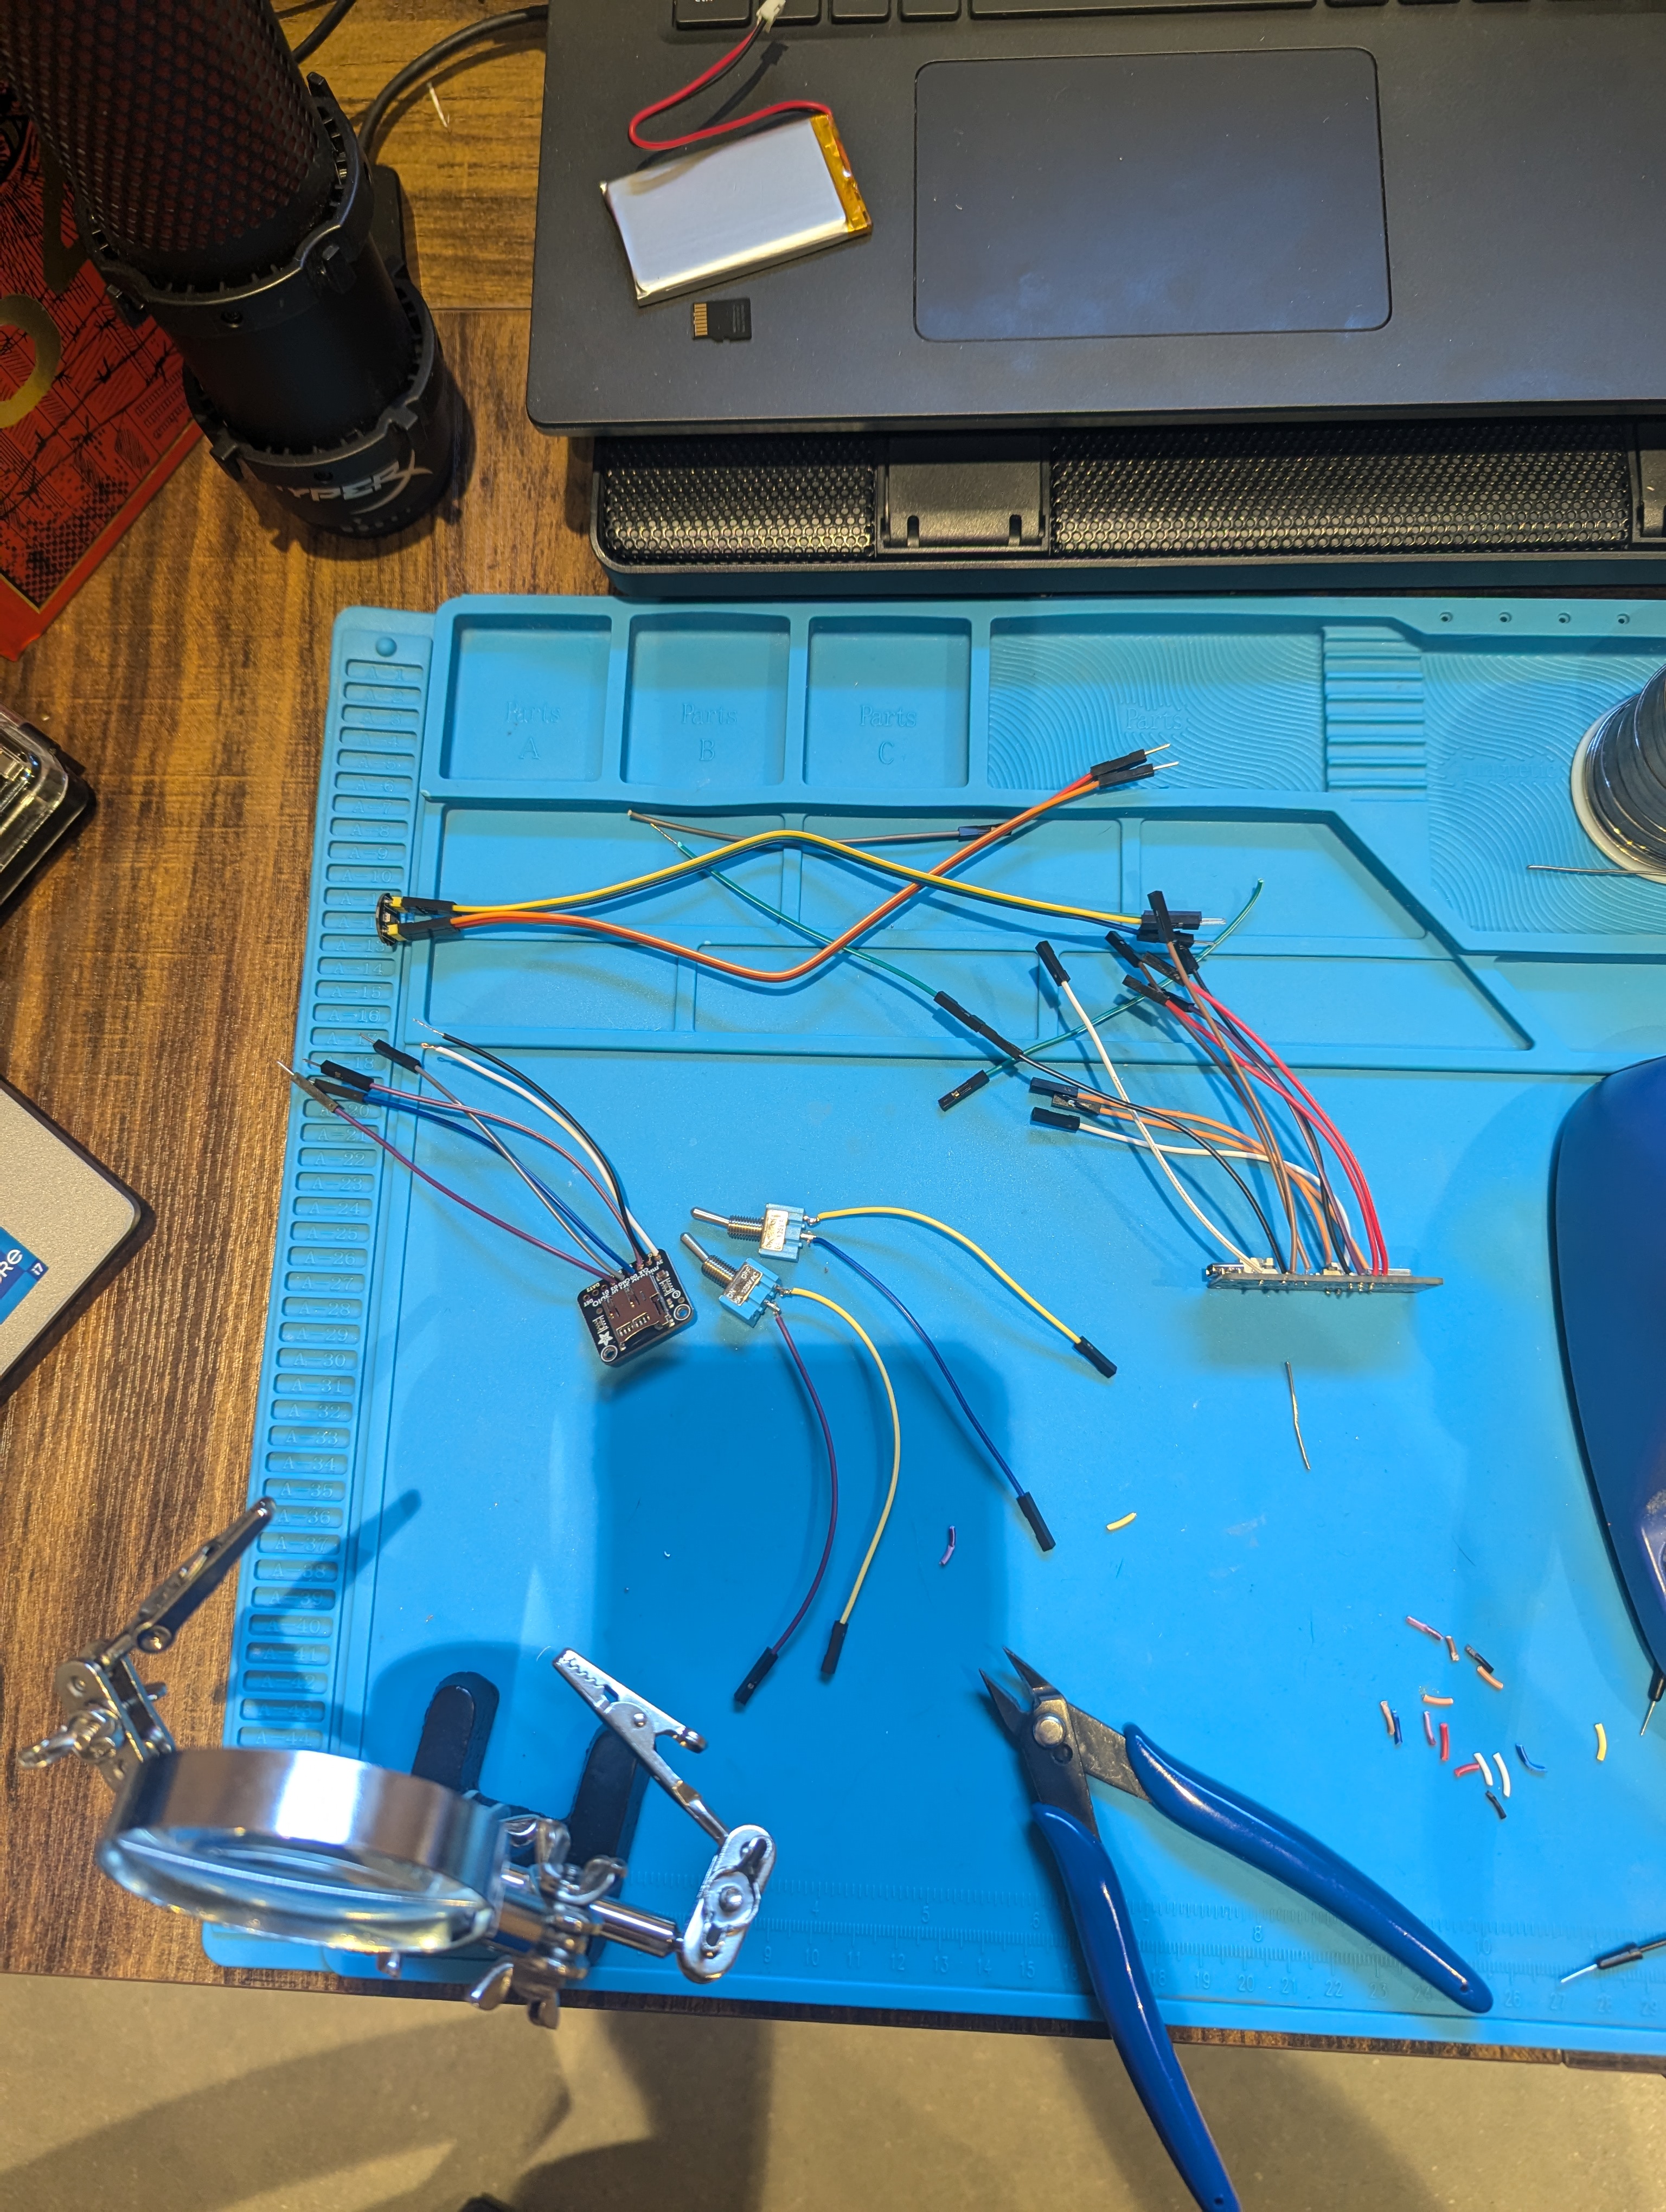
The core is an Adafruit Feather ESP32 V2 — 8MB flash, built-in LiPo charging over USB-C, and WiFi. The microphone is an INMP441 I2S MEMS mic, 24-bit, runs on 3.3V and is designed to pair with the ESP32. Storage is an Adafruit MicroSD breakout with onboard level shifting. A 1000mAh LiPo gives around 5.5 hours of continuous recording at 16kHz mono.
Three SPDT toggle switches handle record mode, WiFi retrieval mode, and — this was added mid-build — a hard battery disconnect. More on that below.
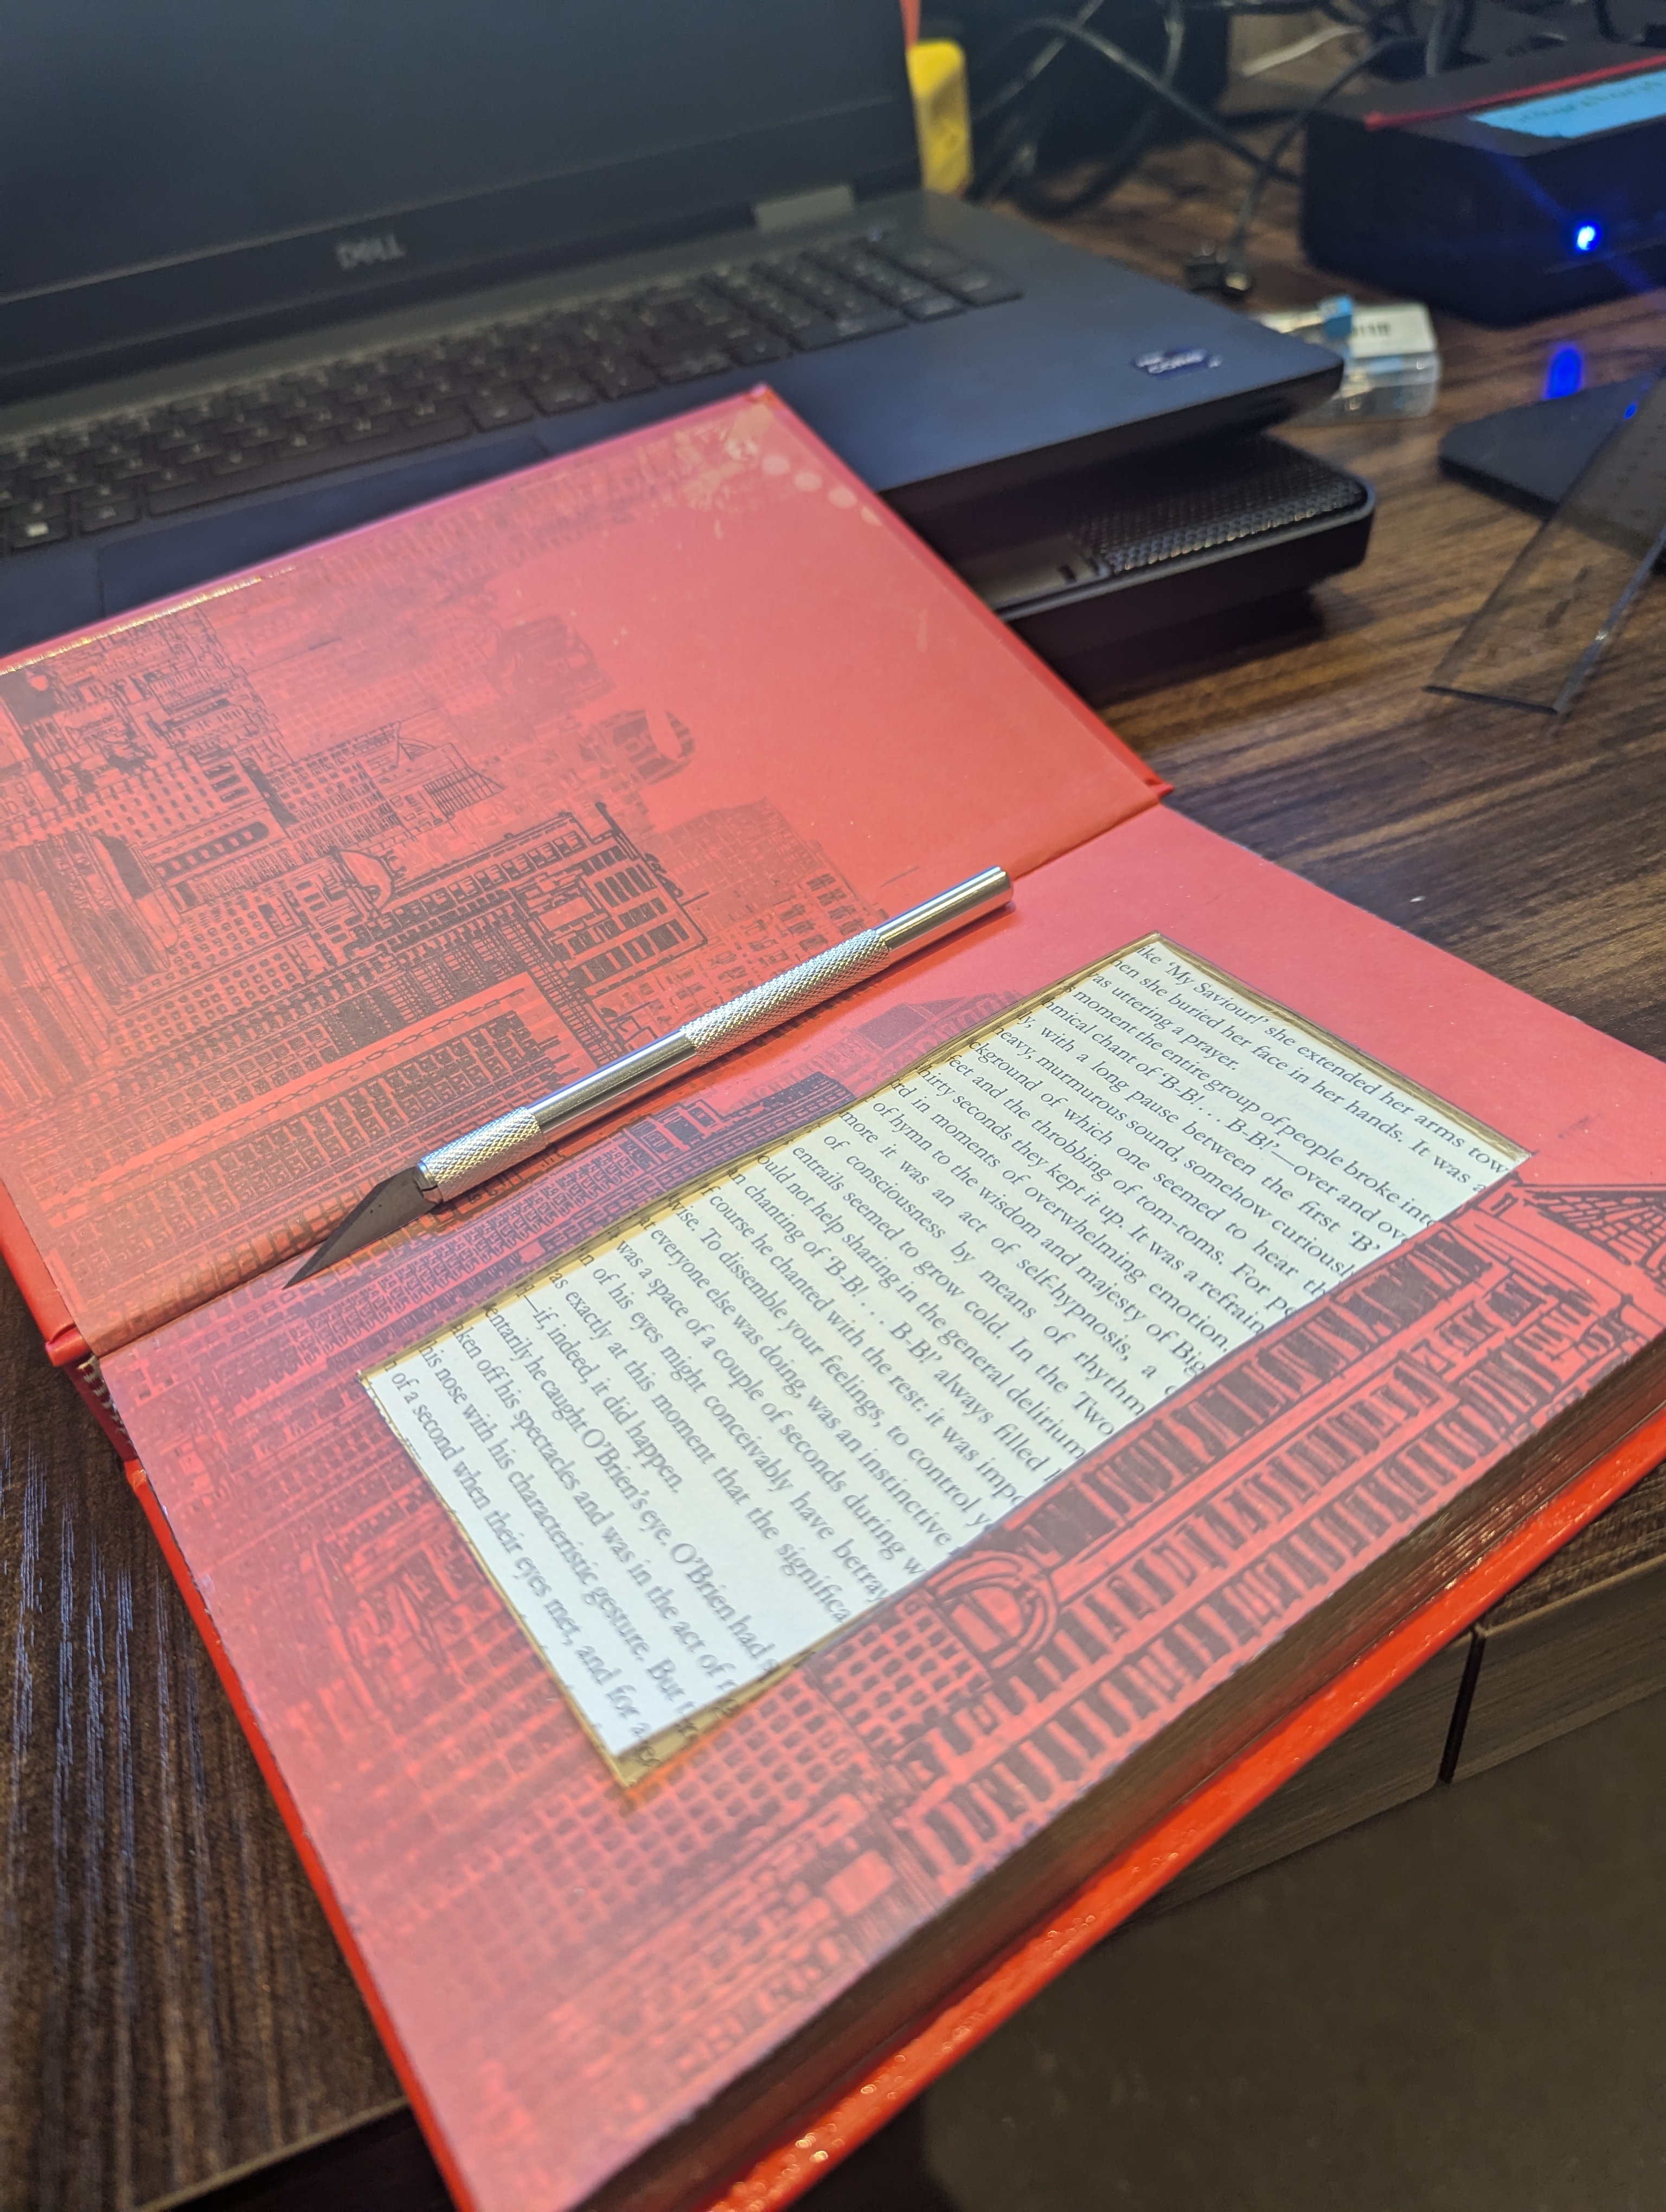
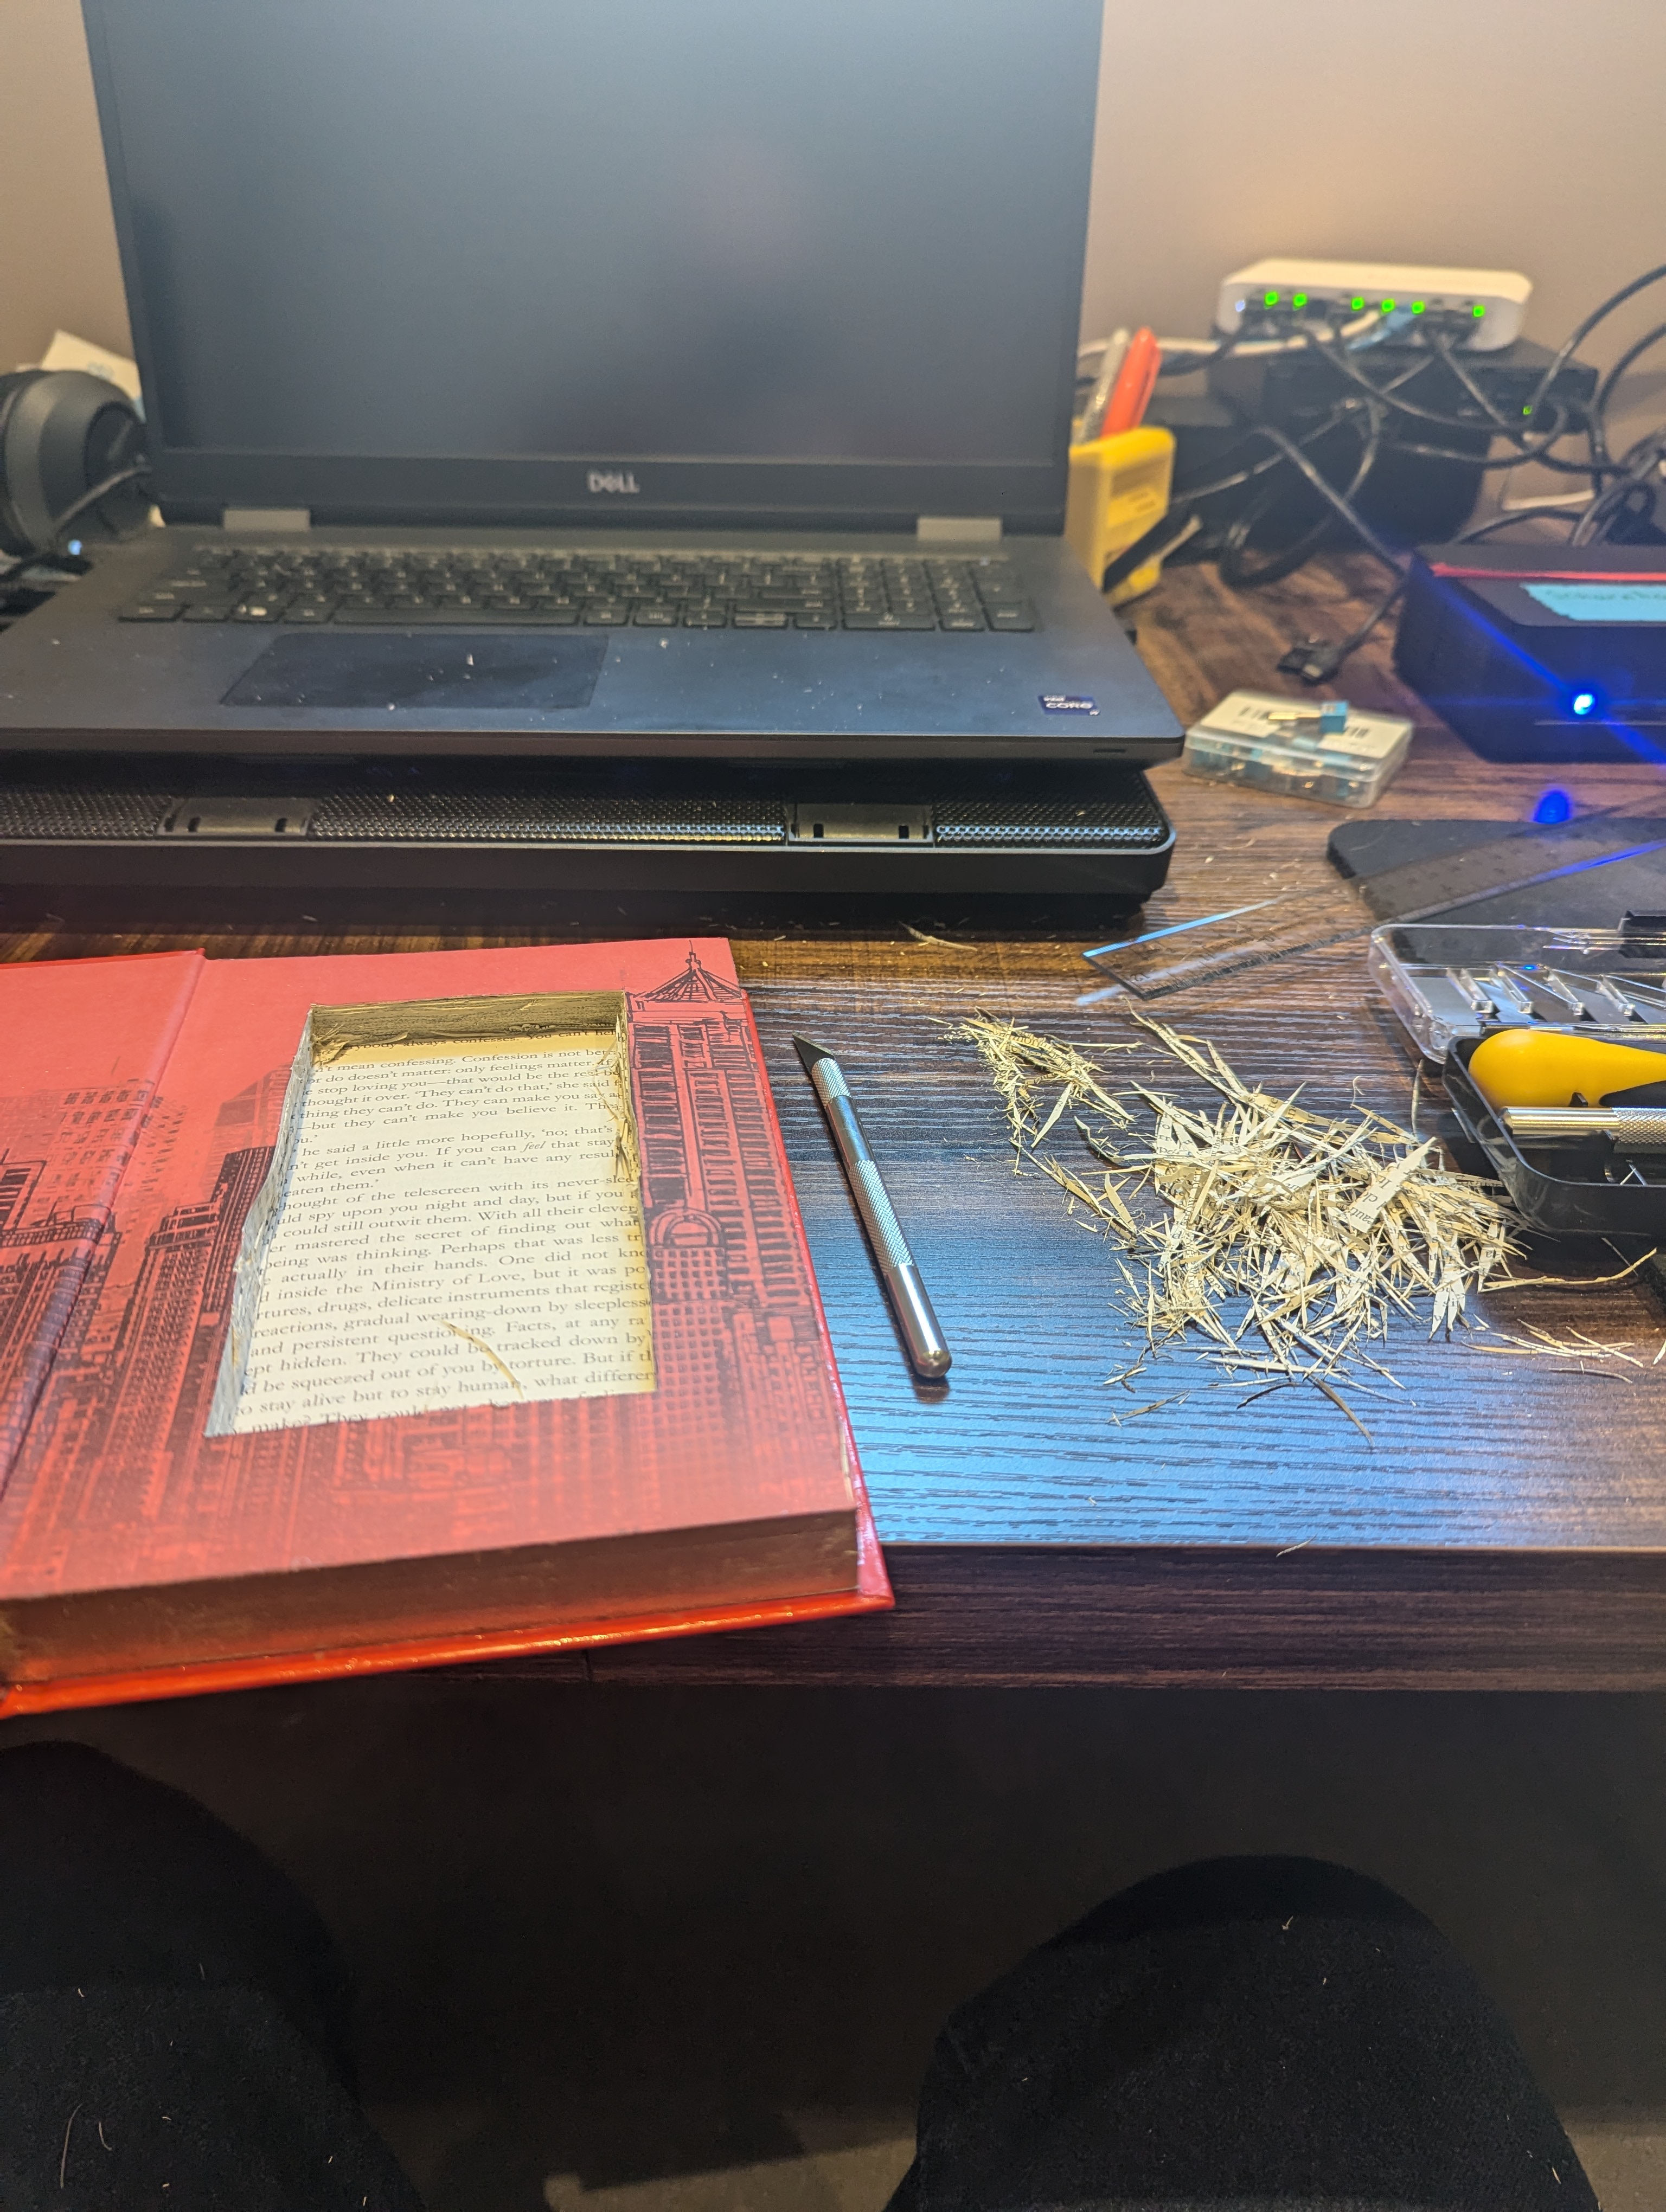
Hollowing the Book
The process is straightforward but takes longer than you'd expect. The key step that makes or breaks it: glue the page edges together with PVA (white glue) on the outside before you cut anything. Close it under weight and let it dry completely. It turns the page block into something closer to solid foam — cuts cleanly, doesn't fray, doesn't shift.
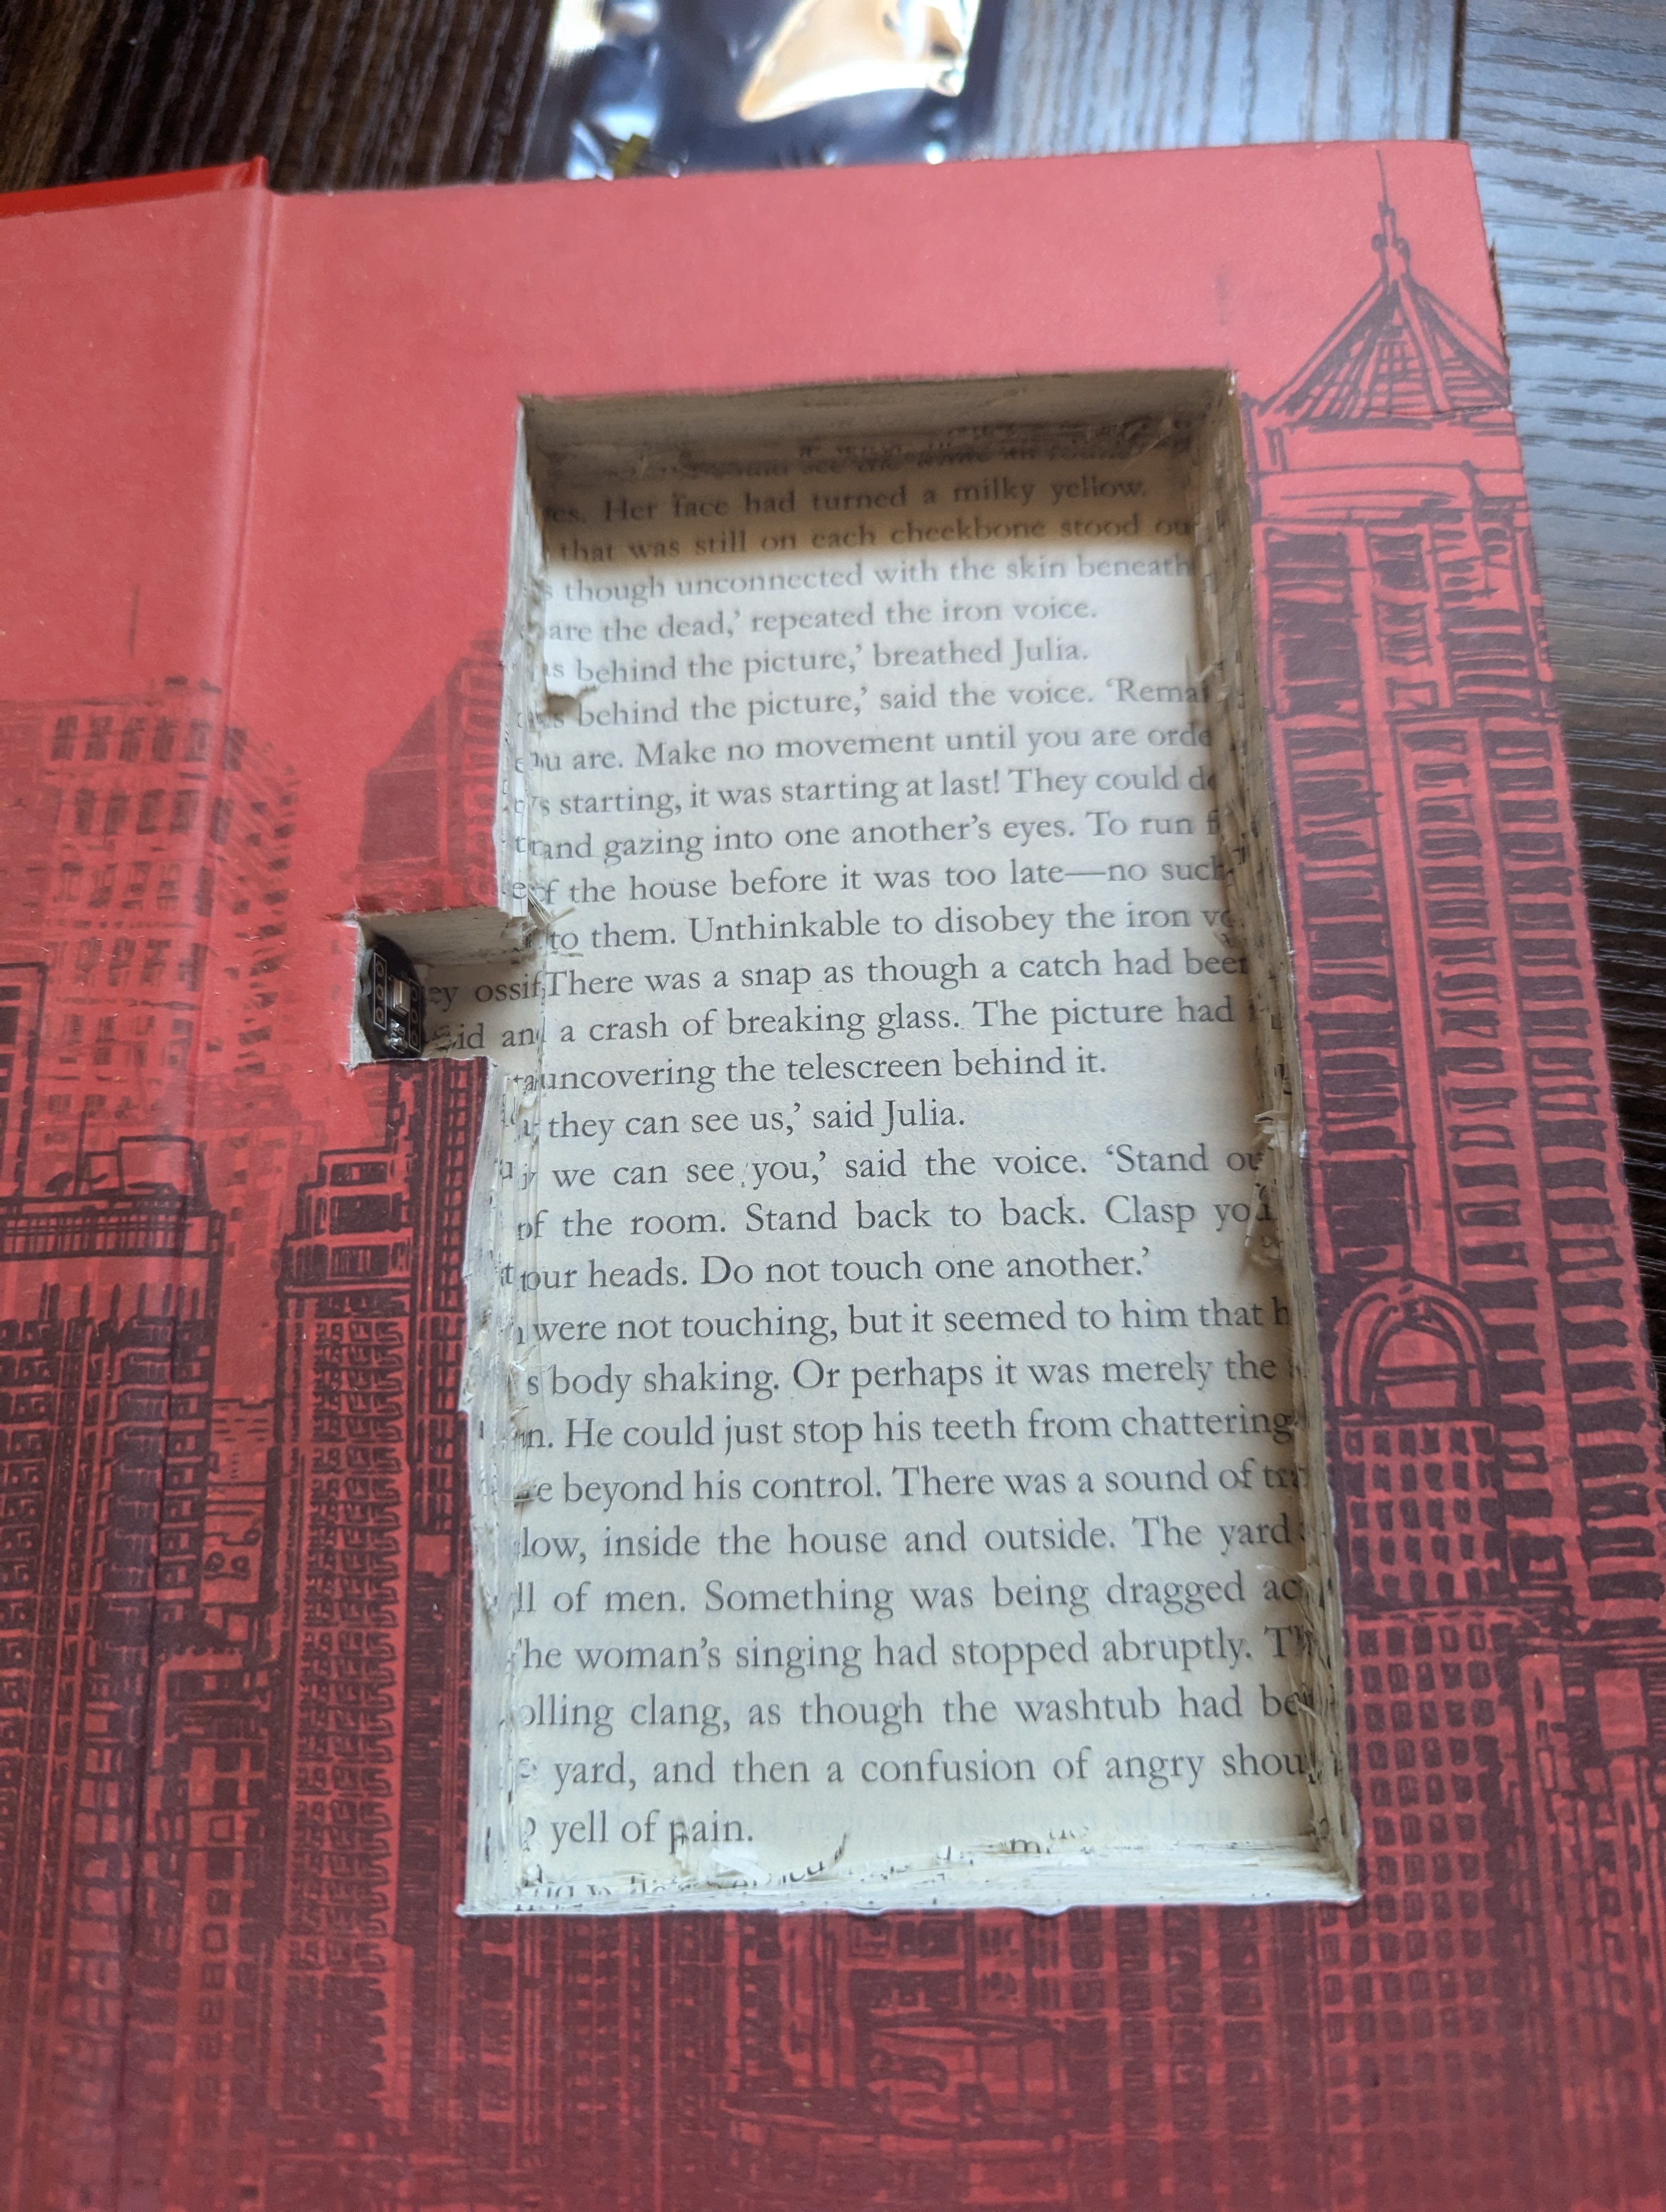
After getting the main cavity cut, I decided to add a notch toward the spine for the microphone. I ended up drilling a hole through the spine itself — between the title and the author's name on the cover — for pickup that faces the room when the book is lying flat. There's a marginal risk someone notices the hole, but honestly it's small enough that most people won't look twice.
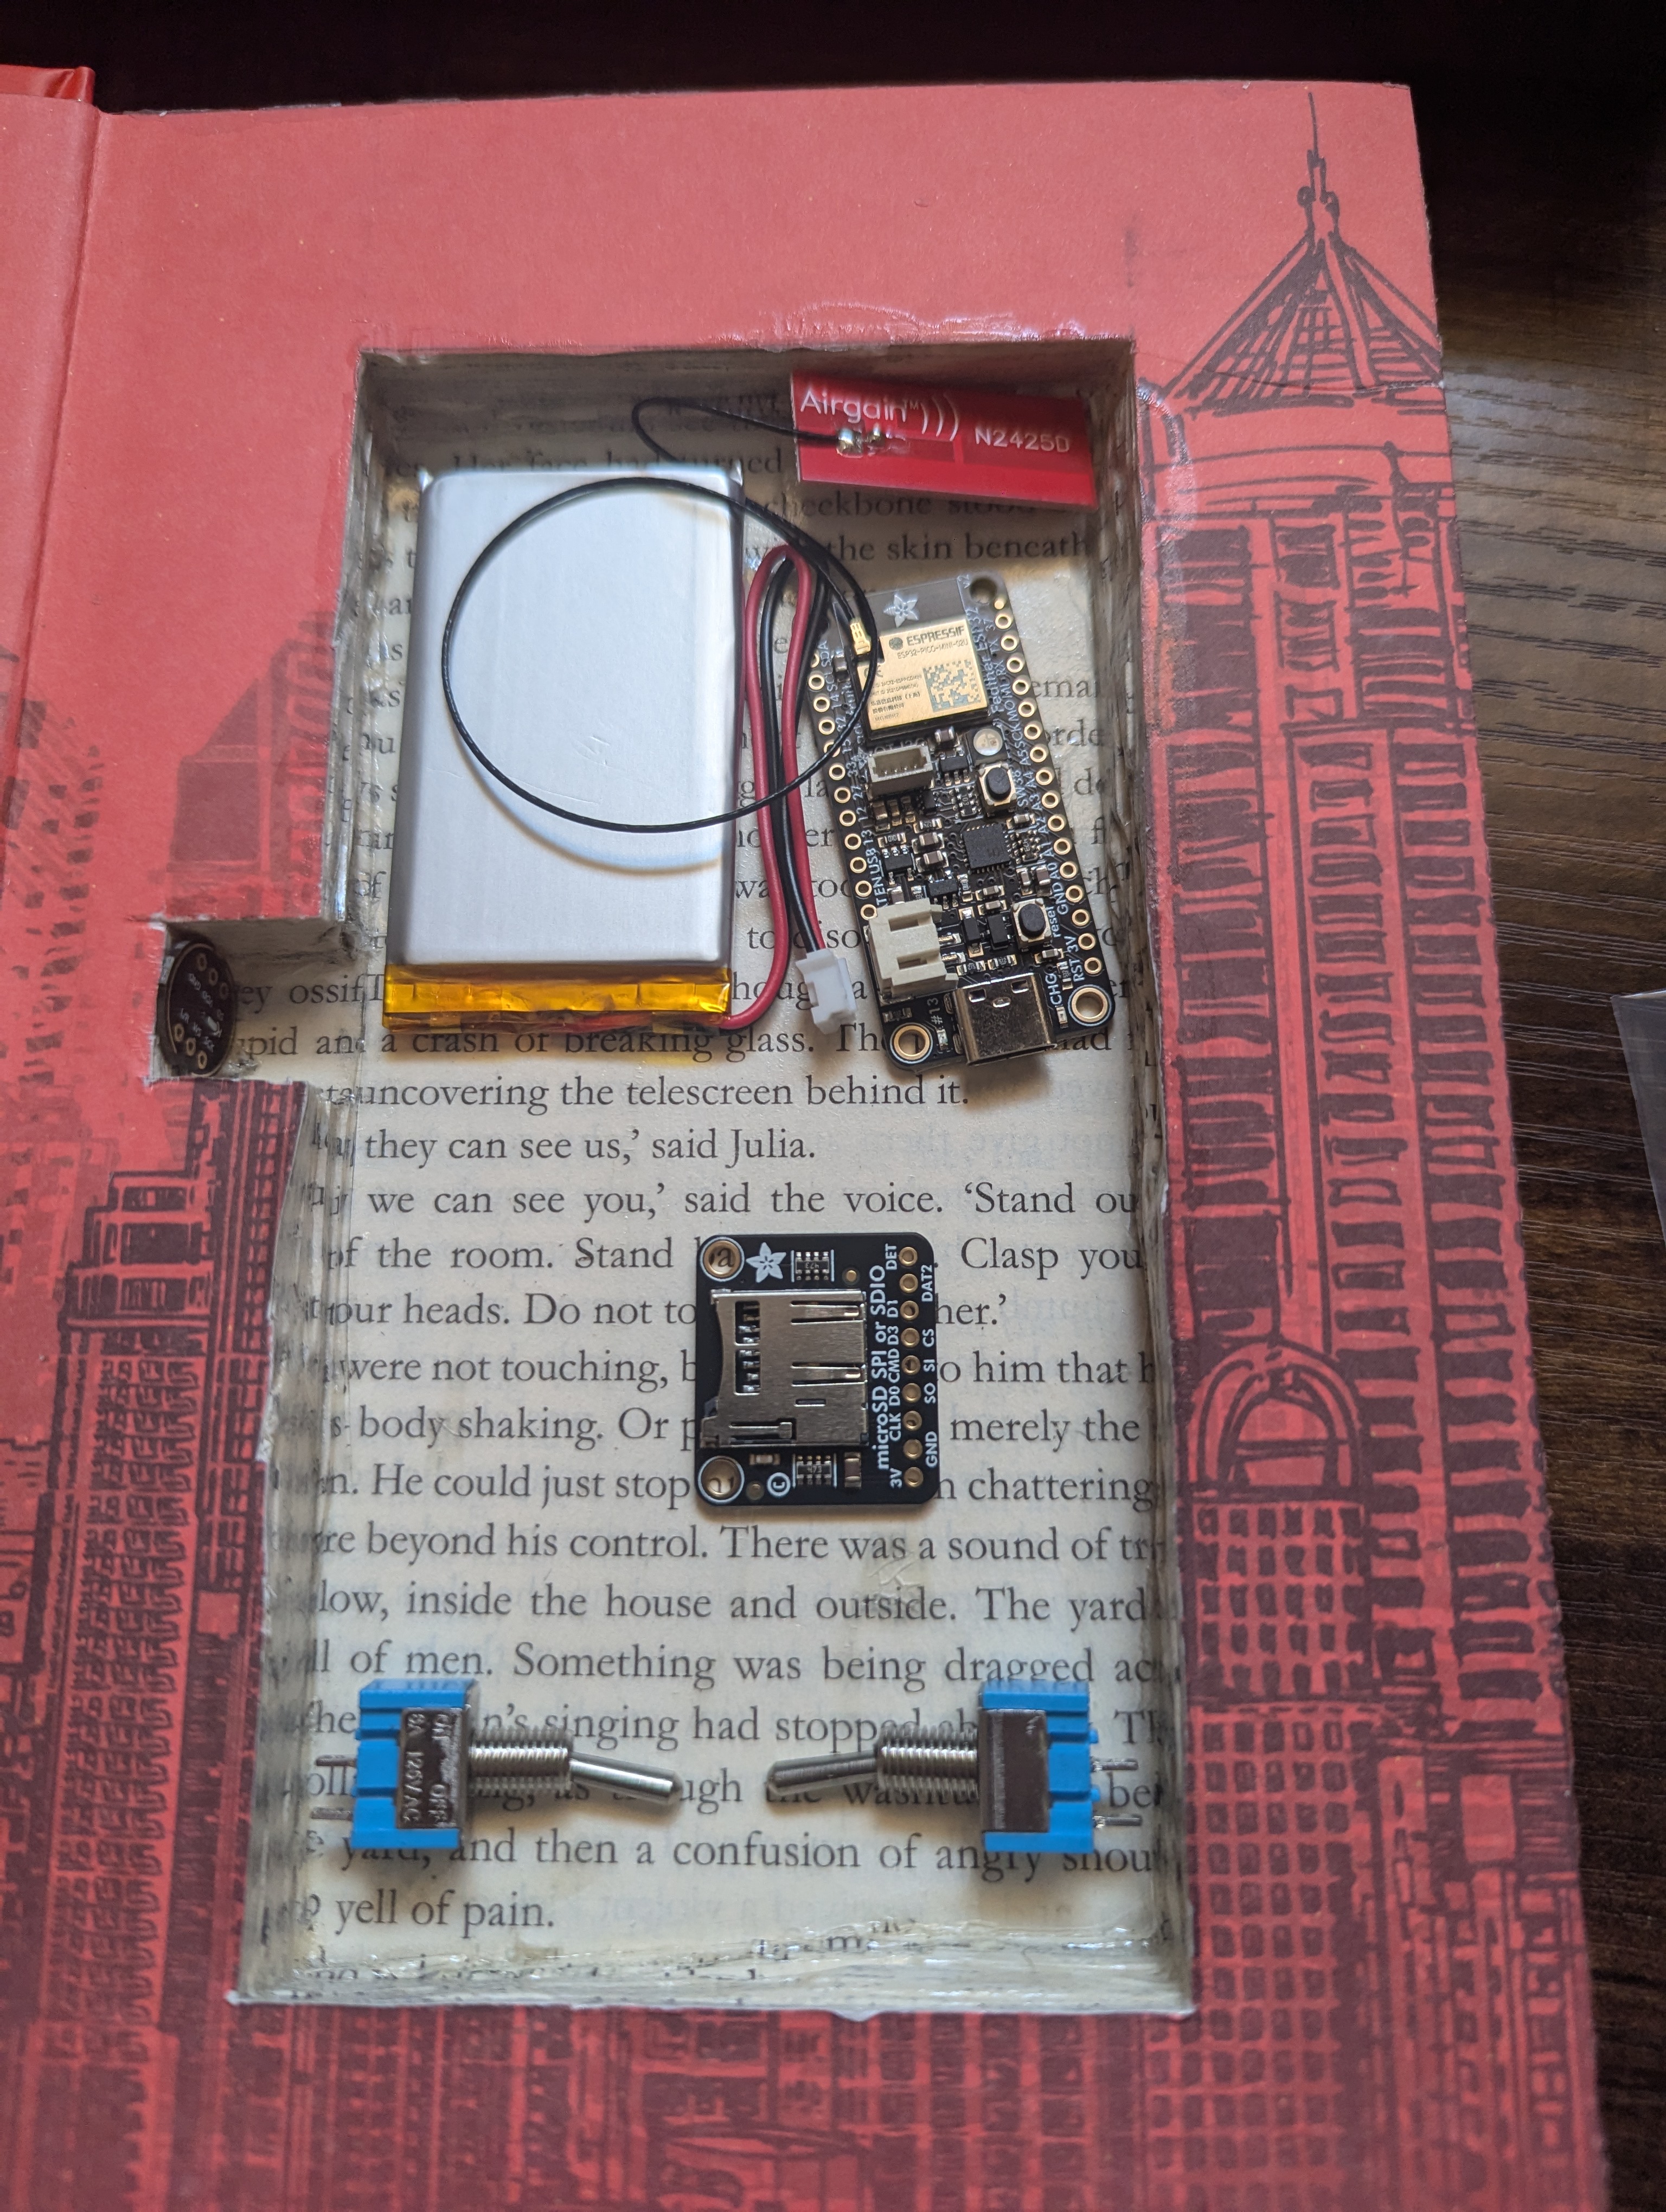
Test Fit
Before any soldering, I dropped all the components into the cavity to figure out layout. Battery flat on the bottom, SD breakout next to it, Feather on top. Everything fits — barely — which is exactly what you want to see before you commit to wiring.
Soldering — I'm Not a Pro
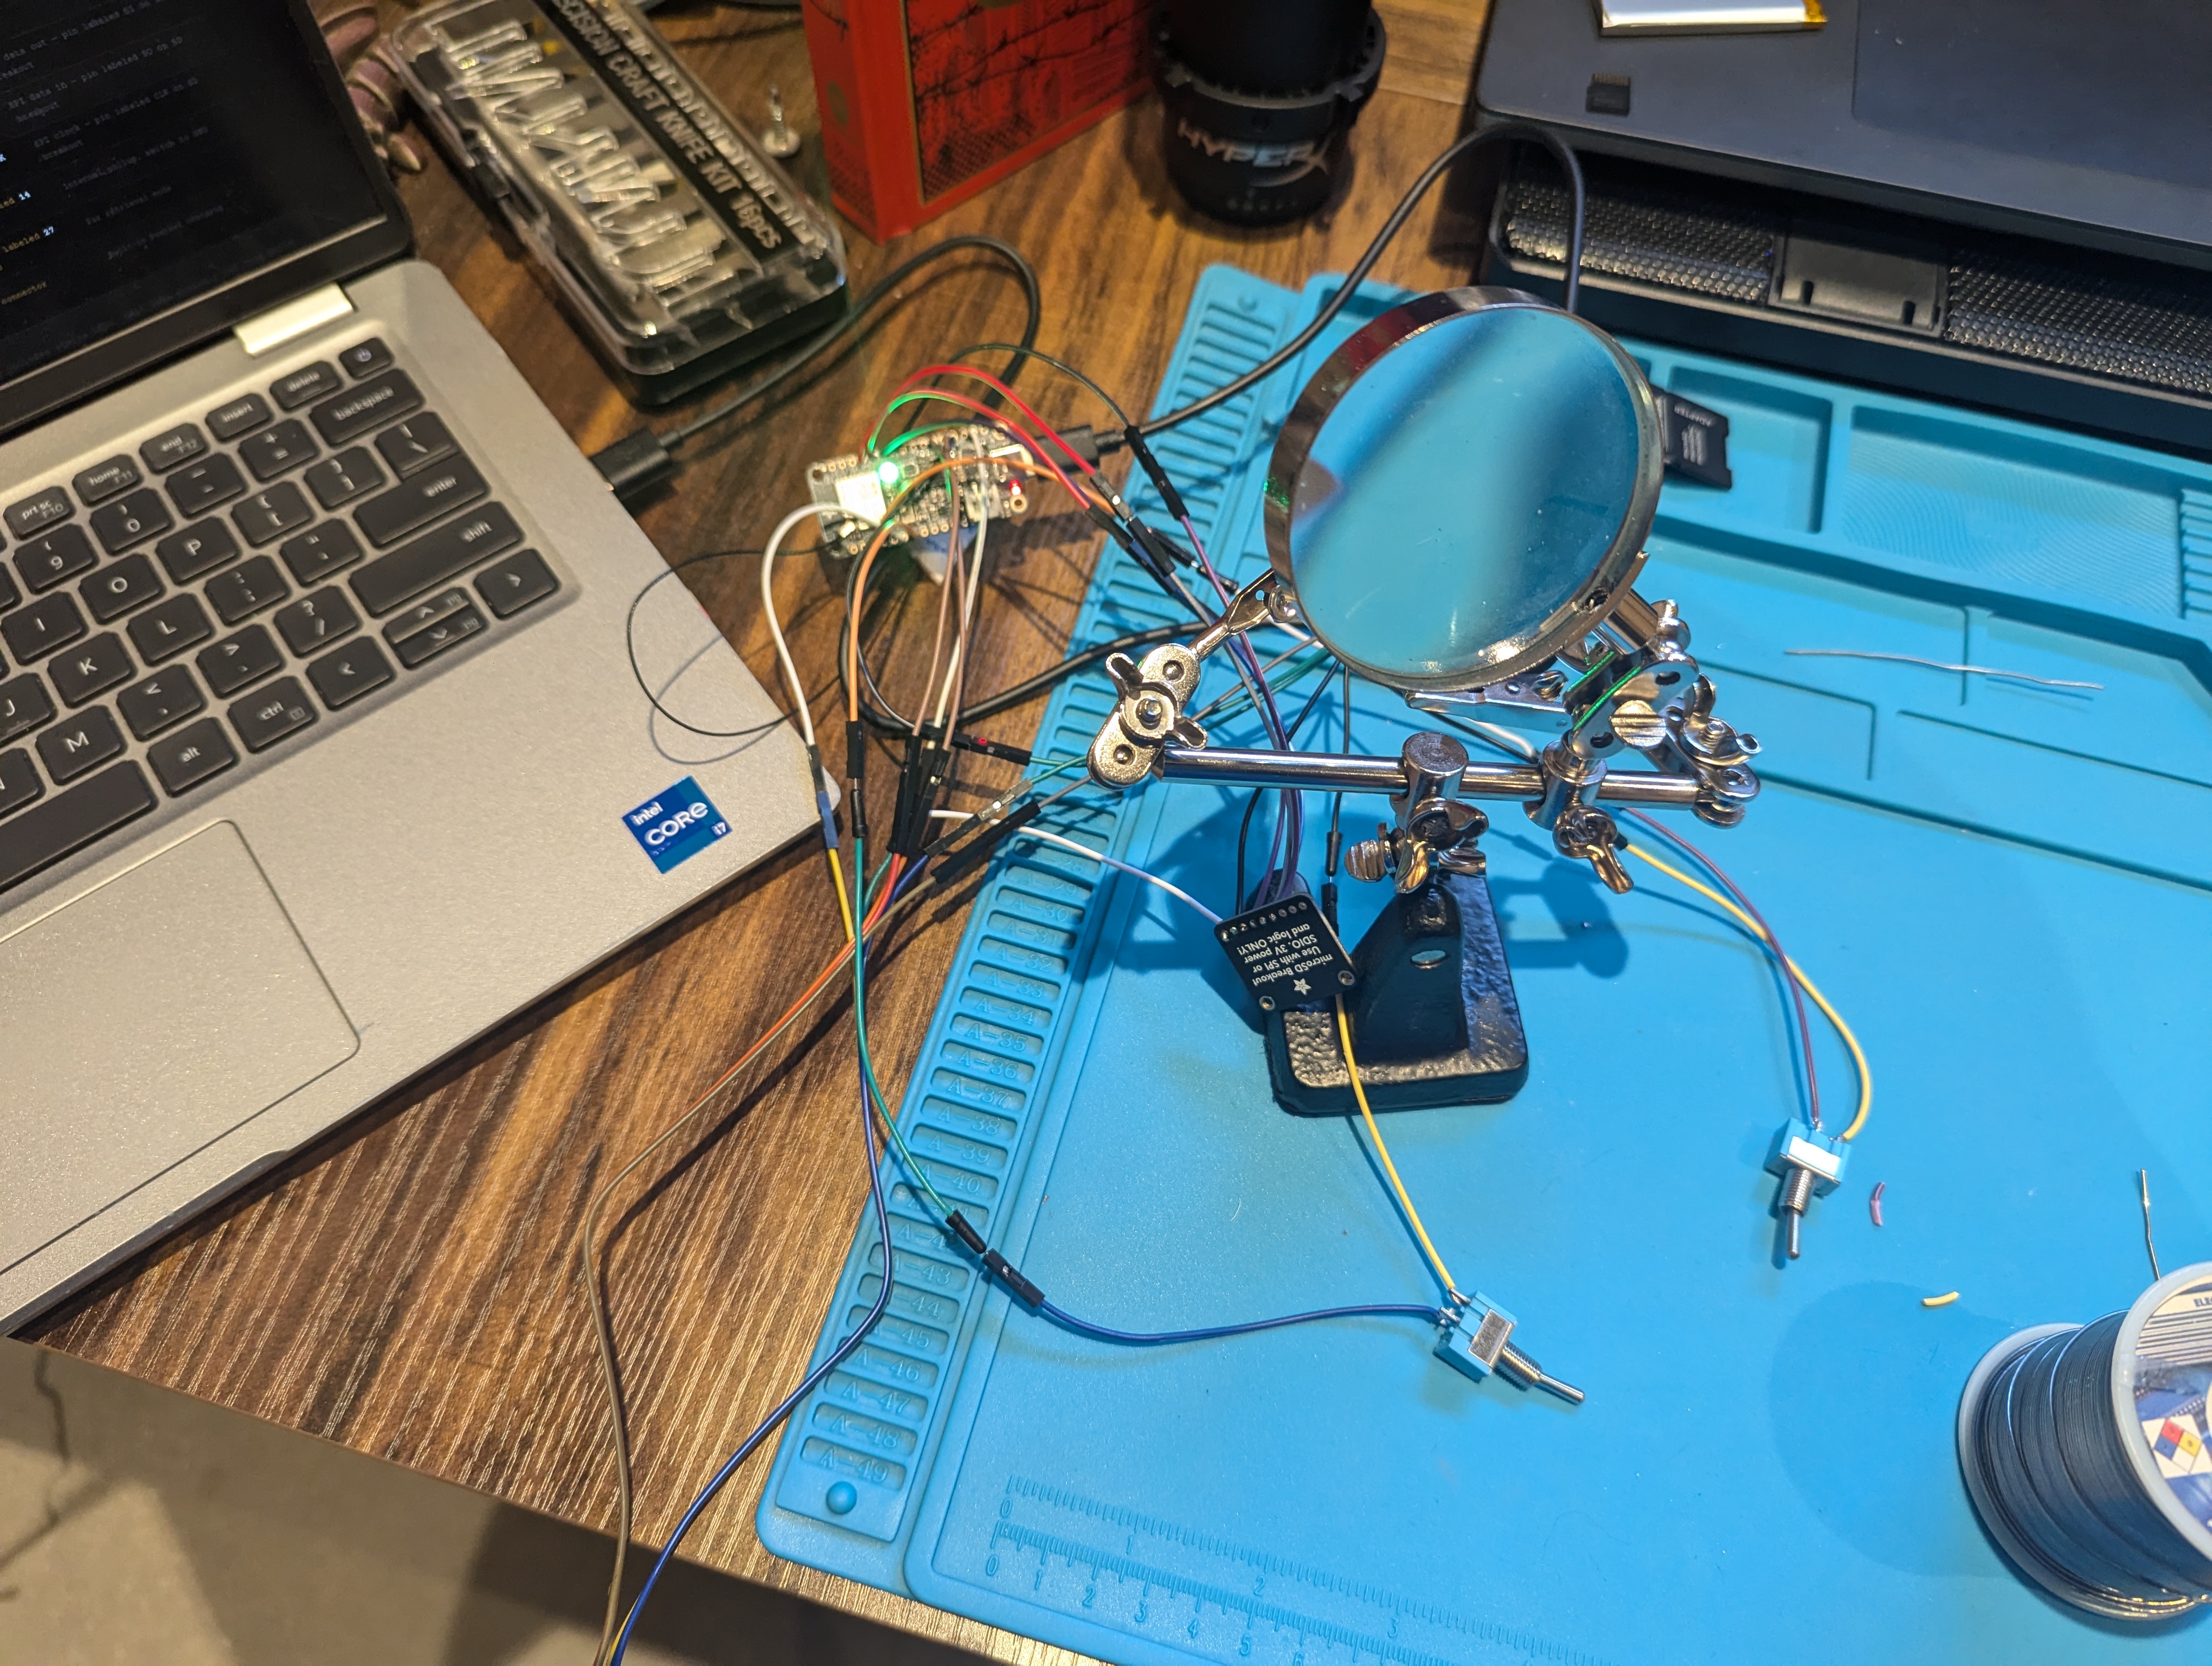
This is where I should be upfront: I'm not a great solderer. I'm improving every time I do it, but it's still not fast and it's still not pretty. Headers to the Feather, headers to the SD breakout, header pins on the INMP441. Every connection soldered — no breadboard in the final build. Breadboard connections rattle loose inside a book.
Firmware and the Battery Problem
Firmware is straightforward — two modes, switched by the toggles. Toggle 1 puts it in record mode: it starts capturing I2S audio from the mic and writing a WAV file to the SD card. Toggle 2 starts a WiFi access point named FieldRecorder. Connect to it, open a browser, get a file listing. Download what you need.
One thing I had to work out: the ESP32 Arduino core's ESPAsyncWebServer has compatibility issues when installed through the Arduino Library Manager. The fix is to install it directly from GitHub:
cd ~/Arduino/libraries
rm -rf ESPAsyncWebServer ESP_Async_WebServer AsyncTCP ESPAsyncTCP
git clone https://github.com/ESP32Async/ESPAsyncWebServer
git clone https://github.com/ESP32Async/AsyncTCP
Restart the IDE after and it works. The full firmware is in the build guide PDF — tested and working.
The bigger problem I noticed mid-build: with the battery always connected, standby drain would kill the charge in a day or two without ever recording anything. That's not acceptable for something you want to grab and go.
The fix was a third toggle switch wired inline on the battery ground — physically disconnecting the battery when not in use. Toggle 3 OFF means zero draw. Nothing. Flip it ON when you need to charge or record. The charge stays full until you actually need it.
Final Assembly
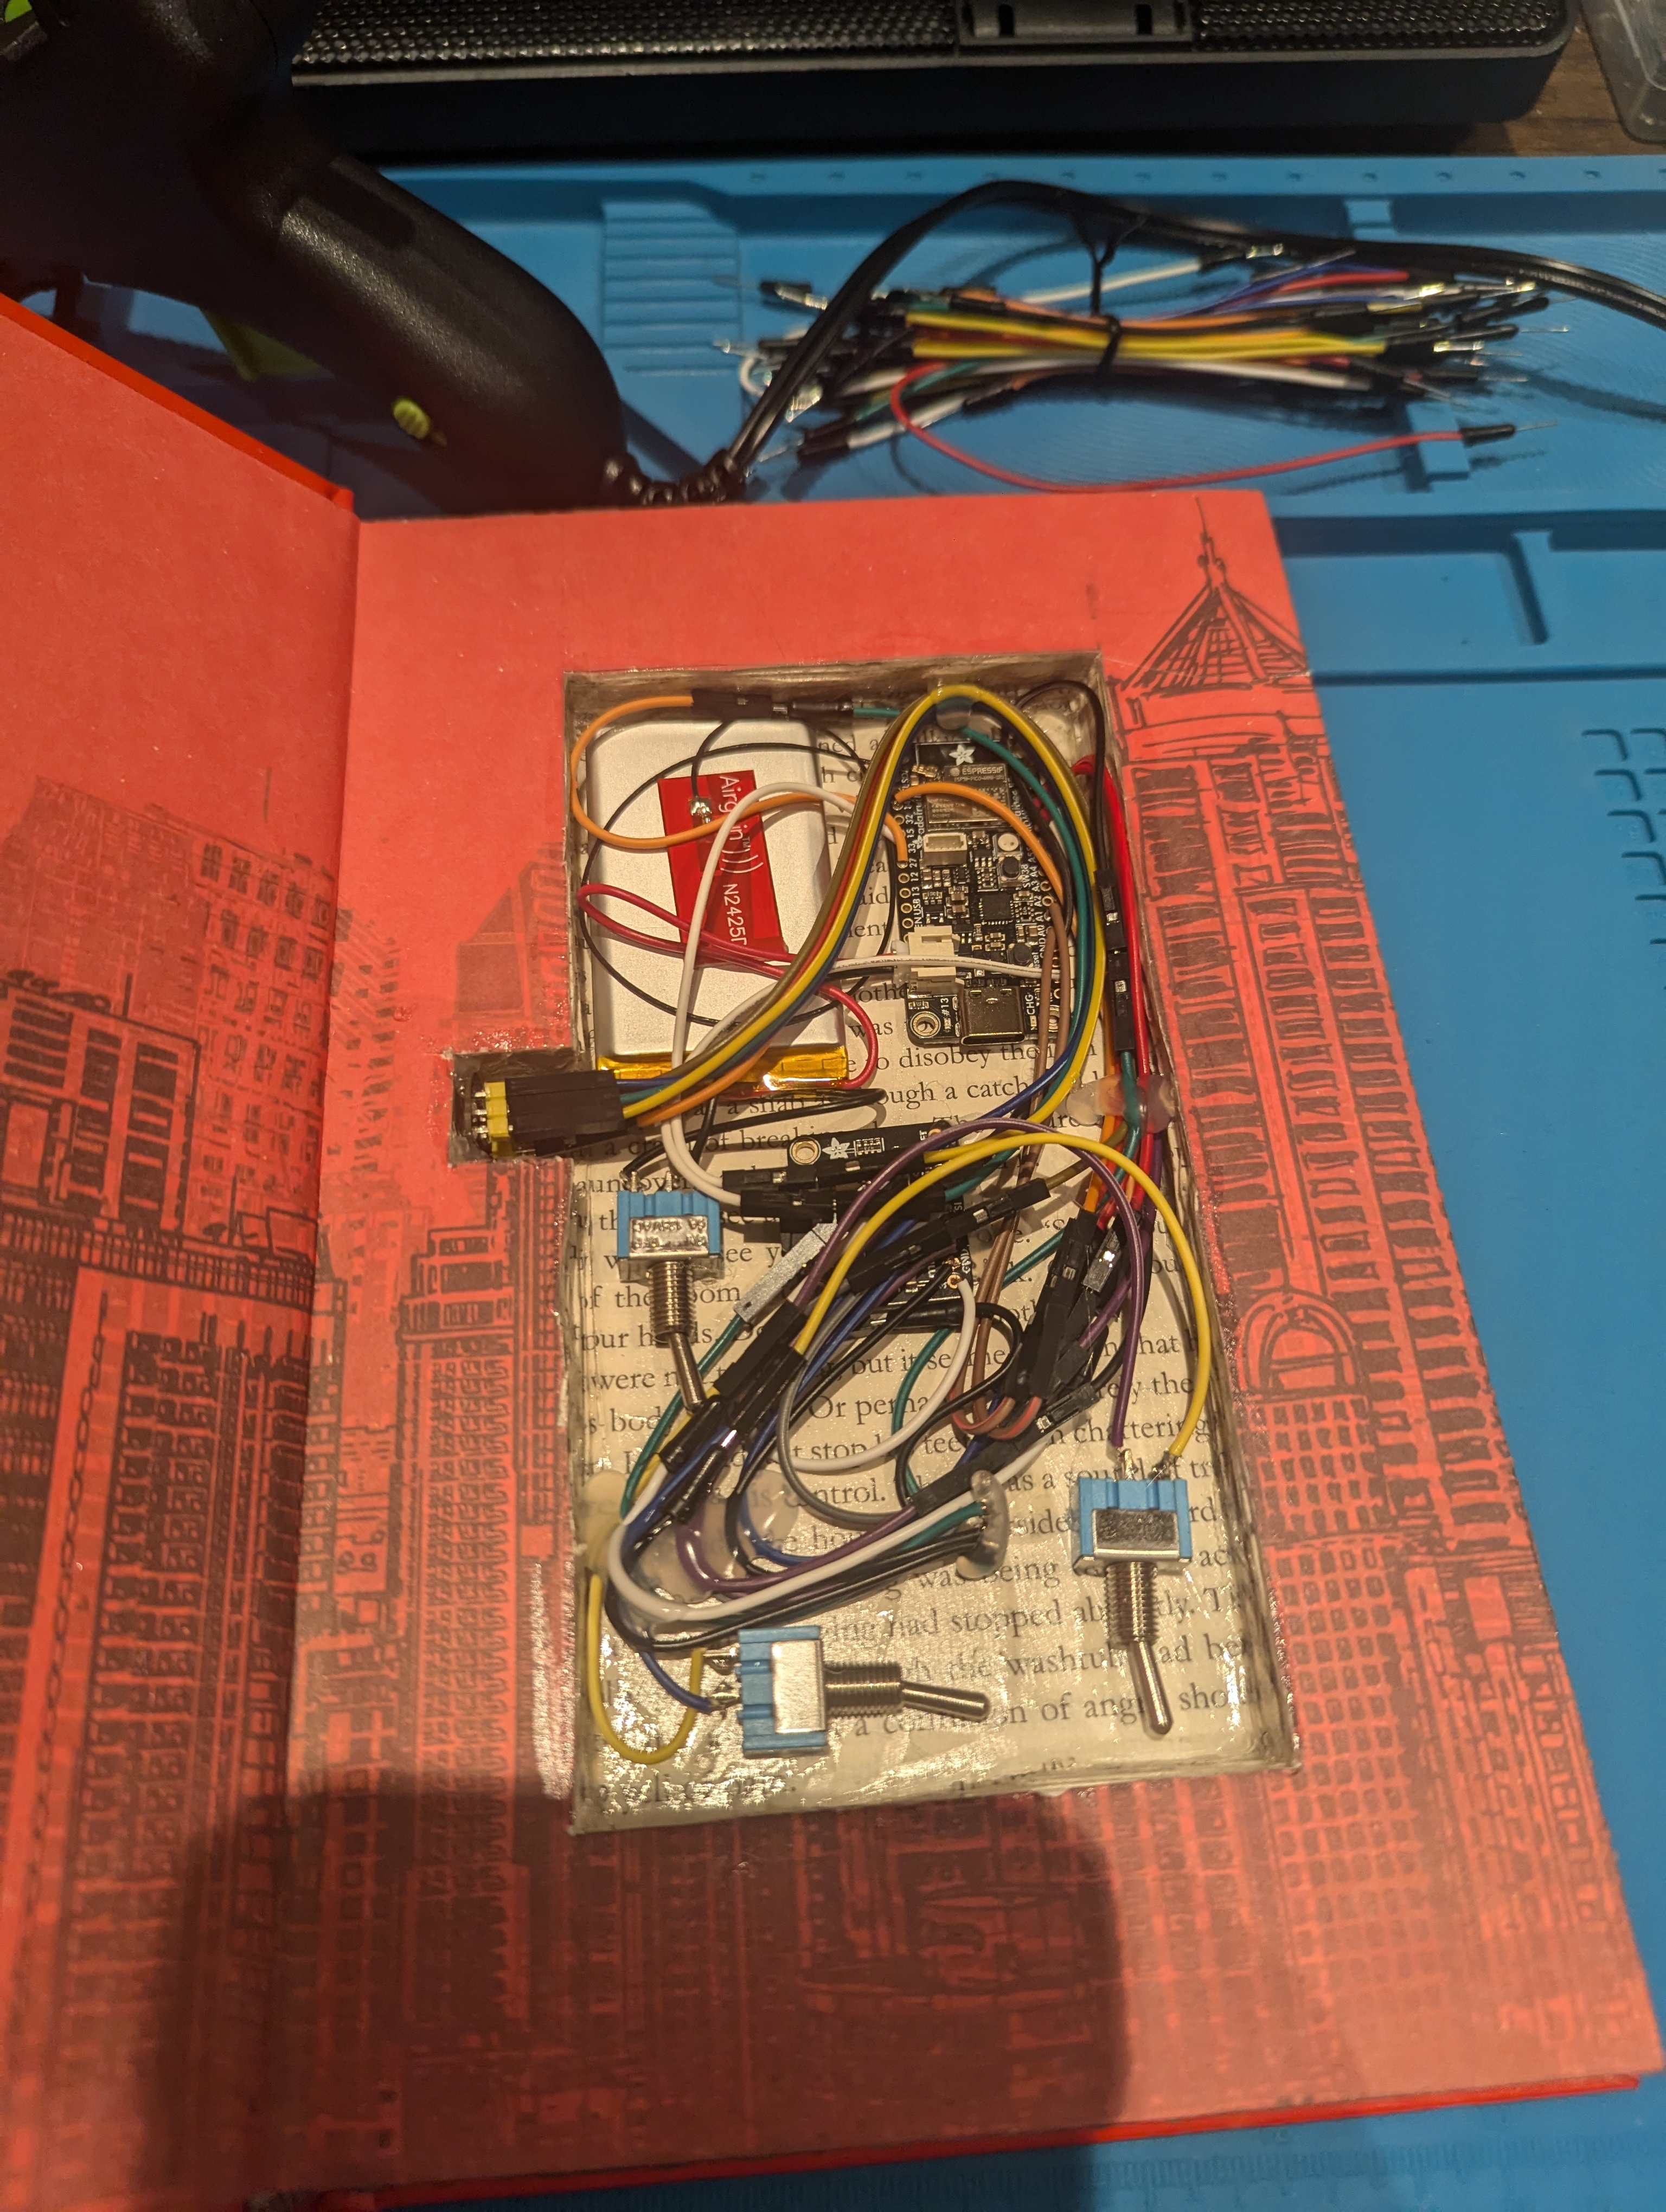
Hot glue for everything. Battery flat on the bottom, SD breakout beside it, Feather on top. Mic routed on a short lead to the hole in the cover, hot glued flush against the inside so the port faces out. The three toggles glued along the accessible edge so you can flip them with the book open.
The wiring is messier than I'd like. If I do this again I'd plan the wire routing first and cut everything to length before soldering. Hot glue is very good at hiding that problem, though.
Using It
The night before: flip Toggle 3 on, charge via USB-C until done, flip Toggle 3 off. Before the meeting: open the book, Toggle 3 on, Toggle 1 on, close the book. Set it on the desk. After the meeting: open the book, Toggle 1 off. Then Toggle 2 on, connect phone to FieldRecorder, browser opens automatically, download the WAV. Toggle 2 off, Toggle 3 off.
At 16kHz mono a 1000mAh battery is about 5.5 hours. A typical meeting is 30–60 minutes. You're not going to run out.
The full build guide with the complete wiring table, firmware, and step-by-step hollowing instructions is below. Free download, no email required.